


Mastering End of Tenancy Cleaning: A Tenant's Guide
Posted on 25/08/2025
Mastering End of Tenancy Cleaning: A Tenant's Guide
Mastering end of tenancy cleaning is an essential skill for any tenant who wants a full deposit refund and a painless moving-out experience. This comprehensive guide will help you tackle this crucial task from start to finish, offering practical advice, expert cleaning tips, and a detailed cleaning checklist. If you're preparing to leave your rented property, read on to discover how you can ace your end of tenancy clean!
Why Is End of Tenancy Cleaning So Important?
Most tenancy agreements stipulate that the property must be cleaned to a professional standard before moving out. Failing to properly clean your rented home at the end of your lease can result in hefty deductions from your security deposit. By ensuring the property is immaculate when you hand back the keys, you dramatically increase your chances of a full deposit return.
- Professional standards: Many landlords or letting agents may require proof that the property was professionally cleaned upon exit.
- Deposit concerns: The number one reason tenants lose part of their deposit is insufficient cleaning at the end of the tenancy.
- Good references: A clean property reflects positively on your tenancy, making it easier to secure your next rental.
Key Benefits of a Thorough End of Tenancy Cleaning
- Higher chance of a full deposit refund
- Smoother property handover process
- A better reference for future rentals
- Peace of mind during your move

When Should You Start Your End of Tenancy Clean?
The optimal time to begin your end of lease cleaning is after most of your belongings have been removed from the property. Empty rooms make it significantly easier to spot overlooked areas and clean effectively. However, you should plan your cleaning schedule in advance to avoid last-minute stress.
- Start with rooms you use least (such as guest rooms).
- Leave the kitchen and bathrooms for last, as these are often used right up until moving day.
- Book professional help in advance if you intend to hire a cleaning service.
The Ultimate End of Tenancy Cleaning Checklist
Sticking to a comprehensive checklist guarantees you won't miss important details during your move-out clean. Here's a breakdown of the critical cleaning tasks for each area of your home:
LIVING ROOM & BEDROOMS
- Dust and wipe all surfaces, including skirting boards, shelves, and window sills.
- Clean inside wardrobes, drawers, and cupboards.
- Vacuum and clean carpets or sweep and mop hard floors.
- Clean mirrors and glass surfaces.
- Remove cobwebs from ceilings and corners.
- Check for and remove any stains on walls (if possible) and furniture.
KITCHEN
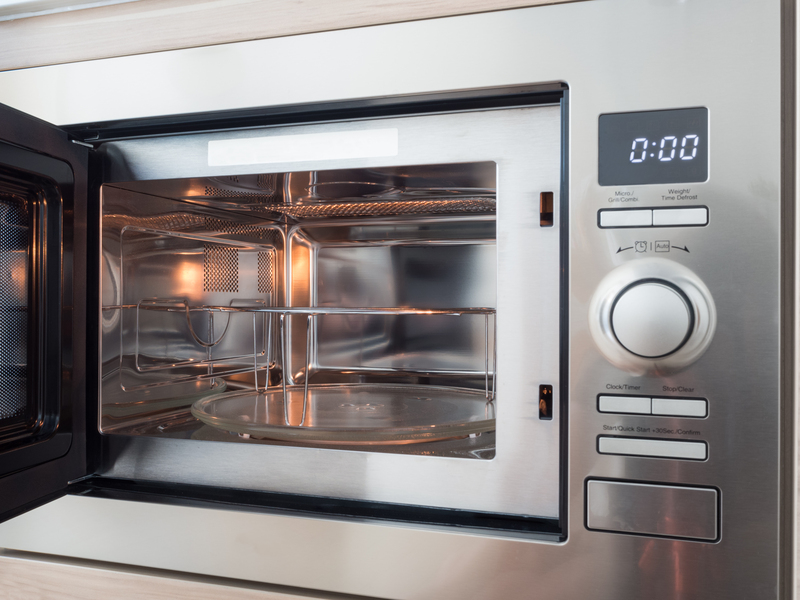
- Deep clean kitchen appliances (oven, hob, extractor fan, fridge, freezer, dishwasher, microwave).
- Wipe down all surfaces, cupboards (inside and out), and backsplash.
- Descale sinks and taps.
- Empty and clean bins.
- Clean flooring and ensure it's grease-free.
- Defrost the freezer and wipe inside and out.
- Polish all handles, fixtures, and light switches.
BATHROOM(S)
- Scrub and sanitize bathtub, shower, and sink.
- Clean toilet inside and out, including base and cistern.
- Descale taps and showerheads.
- Wipe down tiles, mirrors, and splashbacks.
- Polish chrome fixtures.
- Empty and clean bins.
- Mop and sanitize flooring.
HALLWAYS & COMMON AREAS
- Clean and dust bannisters, railings, and skirting boards.
- Remove fingerprints from walls and light switches.
- Vacuum or mop floors as appropriate.
OUTDOOR AREAS (IF APPLICABLE)
- Sweep patios and paths.
- Clear out any rubbish or debris.
- Mow the lawn and tidy up flowerbeds if required in your tenancy.
Essential Supplies for End of Tenancy Cleaning
- All-purpose cleaner: For countertops, shelves, and hard surfaces.
- Window cleaner: For glass, mirrors, and shiny surfaces.
- Descaling spray: To tackle limescale on taps, showers, and tiles.
- Degreaser: For ovens, hobs, and extractor fans.
- Disinfectant: Especially important for bathrooms and kitchens.
- Microfiber cloths: For streak-free cleaning.
- Vacuum cleaner: Preferably with attachments for corners and upholstery.
- Mop and bucket: For hard floors.
- Scrubbing brushes: For stubborn stains and grouting.
- Gloves: Protect your hands from harsh chemicals.
Tip: Wherever possible, use eco-friendly cleaning products. Not only are they better for the environment, but they can also prevent potential allergic reactions in the next tenants.
How to Tackle Stubborn Stains and Problem Areas
Troublesome stains can threaten your deposit return. Common headache areas include:
- Oven interiors: Use a dedicated oven cleaner and let it sit for the recommended time before scrubbing.
- Limescale: Vinegar or descaling sprays work wonders on taps, showerheads, and kettle spouts.
- Carpet stains: A combination of baking soda, vinegar, and gentle scrubbing can lift many stains. For tough spots, a steam cleaner may be necessary.
- Mould and mildew: Bleach-based cleaners or specialist sprays are effective on bathroom tiles and grout. Always ventilate the area well and wear gloves.
If a stain won't budge, document it (with photos) and notify your landlord before checkout. Sometimes, age-related wear and tear is acceptable and shouldn't count against your deposit.
Professional End of Tenancy Cleaning Services vs. DIY
While some tenants prefer to tackle end of tenancy cleaning on their own, others opt for professional services. Each choice has advantages.
DIY Cleaning
- Costs less and can be scheduled at your convenience.
- Gives you full control over the cleaning process.
- Fits tenants with more free time and basic cleaning skills.
Professional End of Tenancy Cleaners
- Expertise: Professionals guarantee that no detail is overlooked.
- Time-saving: Free up your schedule as you juggle moving and packing.
- Deposit protection: Most give a satisfaction guarantee - if the landlord isn't happy, the cleaners will return to fix any issues free of charge.
- Checklist-based: They work from comprehensive checklists aligned with letting agents' requirements.
- Receipts provided: Handy in case you need to prove the property was professionally cleaned.
Documentation and Inventory Reports
Before you start cleaning, revisit your property's move-in inventory and take updated photographs after your clean. This step is crucial to avoid disputes over the condition of the property at check-out. Consistent documentation is your best defence against unfair deposit deductions!
- Compare before-and-after photos.
- Ensure any pre-existing damage is already recorded.
- Confirm that all cleaning obligations match those spelled out in your tenancy agreement.
Common Mistakes Tenants Make with End of Tenancy Cleaning
Even tenants with the best intentions can miss key details. Avoid these frequent slip-ups:
- Not cleaning inside appliances: Don't forget behind, inside, and under ovens, fridges, and washing machines.
- Forgetting blinds, curtains, and light fixtures: Dust accumulates quickly in these overlooked areas.
- Ignoring outdoor spaces: Gardens, patios, and balconies must also be tidy.
- Not defrosting the freezer: Frozen food or water can create a mess if left unattended.
- Neglecting skirting boards and baseboards: Landlords will scrutinize these during check-out.
- Leaving bins dirty or full: Empty and clean all bins before leaving.
How to Pass the Landlord's Inspection
Landlords and letting agents conduct thorough inspections before returning your deposit. Here's how to excel:
- Follow your cleaning checklist to the letter.
- Address and document any damage or wear.
- Remove all rubbish and personal items.
- Ventilate the property to banish odors.
- Hand over all keys and parking passes.
- Attend the final inspection if possible, to address concerns on the spot.
Tip: After your cleaning session, walk through each room as if you were the landlord. Check corners, open cupboards, and use a torch to spot dust and dirt in hidden areas.
End of Tenancy Cleaning FAQs
- Q: Do I have to hire a professional service?
A: Not always, but read your tenancy agreement. Some landlords require a professional clean, especially if it was cleaned professionally before you moved in. - Q: What if I miss a spot?
A: The landlord may withhold a portion of your deposit. Most disputes can be resolved if you return to complete the required cleaning. - Q: Will wear and tear affect my deposit?
A: No. Fair wear and tear, such as worn carpet or faded paint, is usually not your responsibility. Cleaning obligations cover dirt, stains, and general mess. - Q: How long does an end of tenancy clean take?
A: For a small apartment, allow 3-6 hours. Larger homes can take a full day or require multiple people.
Conclusion: Master Your End of Lease Cleaning
End of tenancy cleaning may seem daunting, but with good planning, the right supplies, and a comprehensive checklist, you can master this final moving-out task. Whether you DIY or hire the professionals, thorough cleaning is essential for deposit recovery and maintaining your reputation as a responsible tenant. Follow the expert advice in this guide, and leave your old rental looking as fresh as the day you moved in!
Ready to ace your move-out inspection? Save or print this tenant's guide to mastering end of tenancy cleaning, and step into your new home with a clean slate and your full deposit in hand!
Latest Posts
Experience a Cleaner Home: Unlock the Secrets of Our Deep Clean Checklist
The Ultimate Guide to Maintaining a House Cleaning Regimen
The Ultimate Guide to Removing Stubborn Burnt-on Residue Efficiently